It’s time to travel! You’ve picked your destination, planned your route, and now you’re ready to pack your bags and hit the road. But have you checked on your RV to make sure it’s prepared for the road?
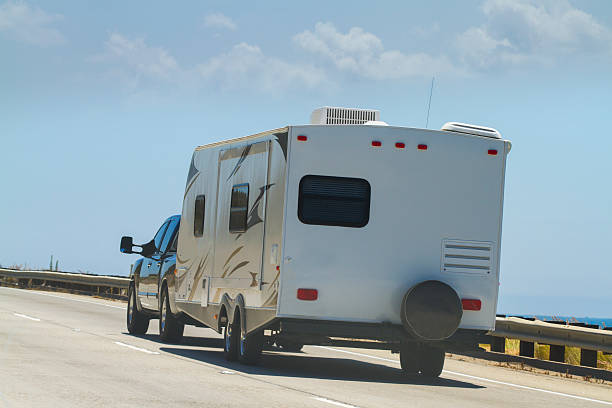
Since travel trailers don’t have all the features of a motorhome, some RVers neglect to check on their towable RVs before they start their journey. While the upkeep is less intense, trailers need maintenance just like any vehicle–or home. The consequences of skipping this step range from annoying (no running water) to disastrous (flames engulfing your trailer). The longer it has been since you’ve taken your RV on the road, the more important this maintenance is to your safety.
To seasoned RVers, the travel trailer prep list below may seem obvious. However, with RV sales increasing every year, there are plenty of RV owners who can benefit from this guide. Some of the items on the list can be performed easily and without complicated tools, while other items (such as changing brake pads or repairing/replacing a water pump) might require a trip to an RV mechanic.
There are many variables that could affect the time needed to complete the steps below. If your trailer does not need new brake pads or tires, your axle is sufficiently greased, and the water pump functions properly, this check could be done in an hour or two. If it’s your first time performing these checks, though, give yourself some extra time to ensure a thorough job.
Running water is one of the most convenient features of an RV, so it’s important to make sure it’s functioning properly. Most RVers simply turn on their faucets and check the water pressure. If you’ve recently de-winterized your RV, you probably have a good idea of what shape your pump is in.
If you notice a problem with your water pressure, follow these steps to find the source of the problem:
Your battery provides power to essential things like lighting, water heater igniter, and air conditioner control board/thermostat. If those items in your coach function properly when your battery is connected, then the battery works. Inspect it visually for leaks or corrosion to avoid trouble down the road.
RV batteries tend to last longer when they are disconnected and stored indoors during the RV winterizing process.
Walk around your trailer and check for rust, holes, cracks, or other damage. Look underneath the trailer to make sure no animal has made a home there. Inspect weather stripping at doors and windows. If you’ve got an awning, it might be worth extending it to check it out.
If your RV is already hooked up to your tow vehicle, this is a good time to check the brake and turn signals.
The tires are literally where the rubber meets the road, and the most common catastrophic failures occur because of an issue with the tires, wheels, axles, or brakes.
Just like tires, axles and brakes are prone to issues over the years and miles. Unlike tires, however, it can be difficult to visually inspect axles and brakes unless you already know what to look for.
Axles and wheel bearings require grease to move freely–if there isn’t enough grease, the friction caused by the wheel’s movement generates heat that can start a fire or cause the wheel to come off. Axles should be greased every 10,000 miles or once a year, and you can grease them yourself or have it done by an RV mechanic.
Check the brake pads and replace them if they look worn. Check the brake fluid level as well. You might have to take a quick drive to evaluate how well your brakes are working.
When inspecting the hitch, look at the tongue of the trailer and make sure nothing is rusted, broken, or missing. Check the ball and make sure it’s mounted properly and securely.
It’s important that the chains connecting the tongue to the vehicle are the correct length. If they are too short, they’ll cause issues on sharp turns, but it’s more common that they are too long.
When chains dangle too low and constantly scrape the road, sparks can fly from the chains onto the trailer. In the right conditions, this can start a fire on the roadside or on the RV itself. Some RVers twist the chains to shorten them to the proper length.
Once you’ve gone over all the essential components of your trailer and your tow vehicle, take your RV out for a quick spin, sometimes called a shakedown cruise. If any issues arise, you’re not far from home, and hopefully not far from an RV repair shop. Either way, it’s better than discovering a problem in the middle of nowhere. You don’t need to go far–a trip to the gas station or truck stop is probably sufficient.
Once your trailer is hooked up, check the brake lights and turn signals on your trailer. Once you’re on the road, pay attention to how the trailer handles, brakes, and turns.